Tuesday 27 January 2015

Pineapple Tarts Simple Recipe

Pineapple Tarts Simple Recipe


It's gonna be Chinese New Year soon. This year, to help the children understand the Chinese culture and food better, I have decided to home make all the new year goodies. So first on our list is the pineapple tarts. Special thanks to my lovely sister, Qian Hui for teaching and guiding me on how to bake these yummy pineapple tarts.

Ingredients: 
  1. 400g Flour
  2. 250g Butter
  3. 40g sugar
  4. 1 egg white + 2 egg yolk (for pastry)
  5. 1 egg yolk ( to glaze)
  6. a pinch of salt
  7. Pineapple Paste Filling


Method: 

Step 1: Beat the butter till creamy


Step 2: Add sugar and salt. Mix in slowly. 

Step 3: Add egg yolk and white. 

Mix in slowly to prevent the pastry from becoming a lump(Failed). 


 Natalie, the best helper around. She loves baking with me..

Step 4: Pour in the flour and fold it in. Do not use mixer. Do not knock out the air. 


Fold until you get a pastry texture. Test it by using hand to press the pastry. If the pastry sticks together nicely, it is done.


Step 5: Put in fridge for 15 mins. 
Tip: Use a kitchen towel to cover the pastry so as to prevent it from collecting moisture. 

Step 6: Roll Pineapple paste into small balls

This pineapple paste filling is bought at phoonhuat(Clementi) and we love it because it is not too sweet and the filling is very smooth and chewy. 

Tip: For easy handling, cut the paste open from the middle.


Natalie made these pineapple tarts with me. 
 Simply use a spoon, scoop out some pineapple paste and roll it into a 'ball'.
The size and shape is totally up to you. For our family, we like bite size so that we can just pop one into our mouth. We are making the round shape because it's the easiest.

Step 7: Wrap the pineapple paste with pastry
The pastry should like something like the picture above. If it sticks to your hand, use some flour to help you. As there is alot of butter in the pastry, it tends to melt if it's hot and if you leave it out for a long time. Therefore, we took out some at a time and left the rest in the fridge.
 Grab some pastry, roll it into a ball, then Press it out flat.

 Place the round pineapple paste filling at the center.
 Wrap it out.
 Then roll it into a nice round shape.

Step 8: Glaze with egg yolk

Step 9: Bake it for about 30 mins. 

The baking time totally depends on the size of your pineapple tart. Even 30 mins is an estimate because you need to keep a very close lookout. Once you see that your pineapple tart is turning golden or to a colour of your liking, then it's done. If you bake too long, the pastry will be burnt at the bottom and the pineapple paste filling will be harden.   

We found out that exposing the pineapple paste filling makes it hard. So if you want to put your pineapple paste filling outside, you got to experiment with it. I suspect that you might have to bake the pastry for a while before adding the pineapple paste filling. Have fun experimenting. 


Our Pineapple Tart is done. 


 The kids helped to place the pineapple tarts into the containers.

Our Yummy Pineapple Tarts.

Natalie brought a container of pineapple tarts to school and it was all snapped up by her friends within minutes.  She was so happy and satisfied that she could share what she has made with her friends and they simply love it. Most importantly, our home made pineapple tart is not as sweet as the ones being sold outside. So perhaps, healthier?

I always thought that making Pineapple Tarts wasn't gonna be easy. But I was wrong, it was much easier and yummier than I thought. So why not try this simple recipe and let us know how it taste... 


Chinese New Year Specials

Chinese New Year Goodies - Simple Recipes

Pineapple Tarts                      Crabsticks


Oatmeal Cookies                               Honey Cornflakes


Home Learning: Our Chinese New Year Big Book


Other topics that you might be interested in.


Follow me on Facebook for more updates.


Monday 26 January 2015

Theme: About Myself

Theme: About Myself

First,  know yourself, then about the people and the world around you.


We spent 2 full weeks on this theme - About Myself and it all started because I caught Faith looking at the mirror and saying " My name is Faith. I am 3 years old. I am a girl." So I decided to work on this theme with her. We spent such a long time on this theme because I believe that knowing yourself is very important.


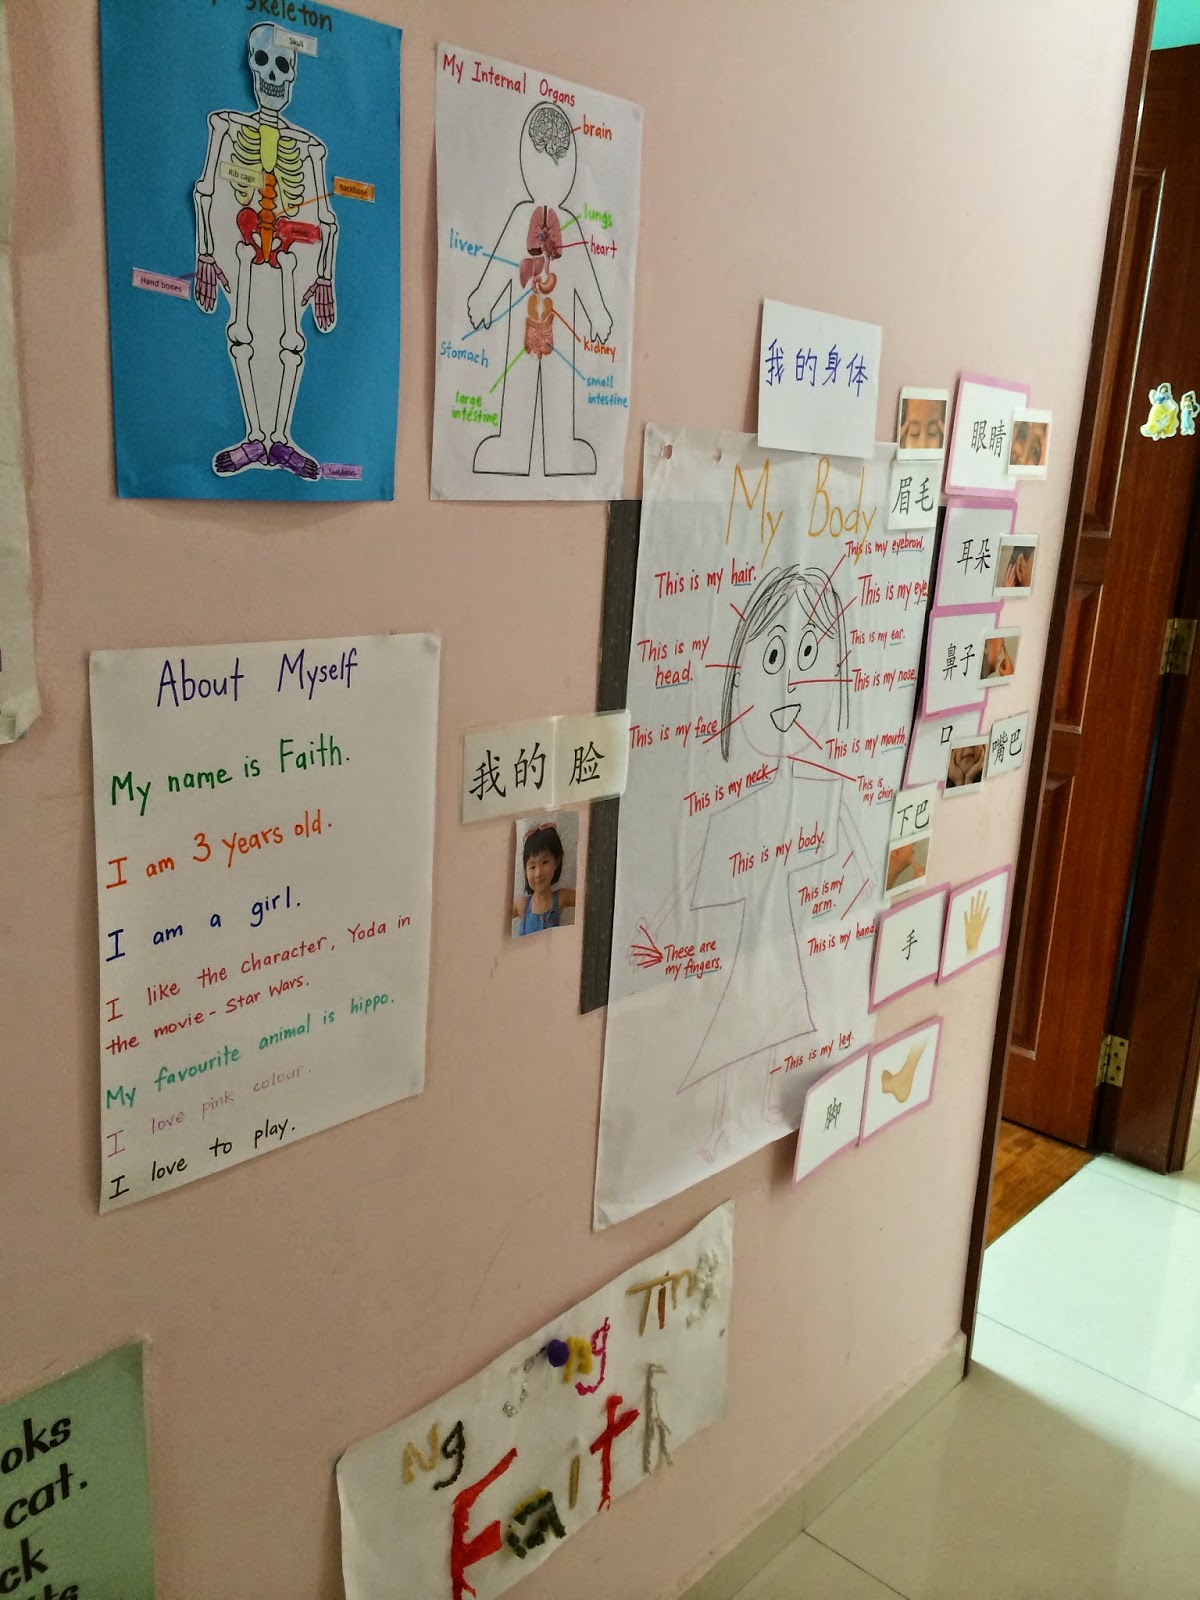
Activity 1: Writing 'About Myself'

Faith was asked to introduce herself and I held her hand to write down what she said ( I had to help her to rephrase the sentence " I like Yoda").


Activity 2: My Body - Labeling the different body parts


With a piece of Mahjong Paper, I drew a little girl and we started labeling the different body parts.

The main objective of this activity is word recognition.
Identifying the body parts was easy for her, but I wanted her to recognize the words like "this", "is" and all the words of the different body parts.


Activity 3: 我的身体 - Labeling in Mandarin


Faith learnt her body parts in mandarin through this book. Some of the flashcards are from this book.
She can now read this simple mandarin book.


Faith learnt the different body parts in mandarin as well and she had to identify the body parts in mandarin and paste the flash card as close to the body part as possible.


 To ensure that she knows what those Chinese characters means, I made her stick the visual pictures next to the words.
 Word Recognition
我, 的, 脸, 眼睛, 耳朵, 鼻子, 口, 嘴巴, 下巴, 手, 脚, 眉毛。


To attract her to the wall, I pasted her photograph of her.


Activity 4: Learning about my Skeleton

Faith found this book and insisted she wants to learn about skeleton. She was curious but afraid of skeleton at the same time.


Bought this really useful learning aid many years ago during a 'toys r us' sale. This learning aid have help me teach all my 3 children and now, it's the youngest girl's turn to use to it.


Firstly, Faith had to "fix the puzzle" of this skeleton. As she is building, I'll teach her the different names of the bones. Of course, I use the 'human skeleton' poster which is included in the kit to input the different names.


The kit also included X-ray films. So Faith had a chance to play with these films.


 Faith discovered that she can see these x-ray films better against light.

We also learnt about '10 Good Food for Your Bones' (included in the kit). Took this chance to teach her about a healthy diet too.


 Faith pretending to sleep.


Activity 5: Labeling important parts of the skeleton

Seriously, how important is it to know all the names of the different bones of our skeleton? Funny that it's not important at all. So I decided to only reinforce the important parts of the skeleton using this paste and colour activity.


Activity 6: Reading The Story of Creation from 'My First Bible Stories'.

Faith suddenly asked me one day, " Mummy, where did I come from?"
Instead of answering her question, I told her " Let's read this book and find out where did you come from."


It is a simple 3 page story.

After reading this story, I asked her "So where did you come from?"
Without any hesitation, she answered " from God".
I was surprised at the way she answered my question with great confidence.
I asked her again" How did you know?"
She said : " Because God made man and woman and all the animals."


Activity 6: Introducing the Internal Organs

Through this guided, simple paste and label activity, Faith got introduced to the different internal organs, how they look like and where they are roughly positioned in our body.


Activity 7: My 5 Senses

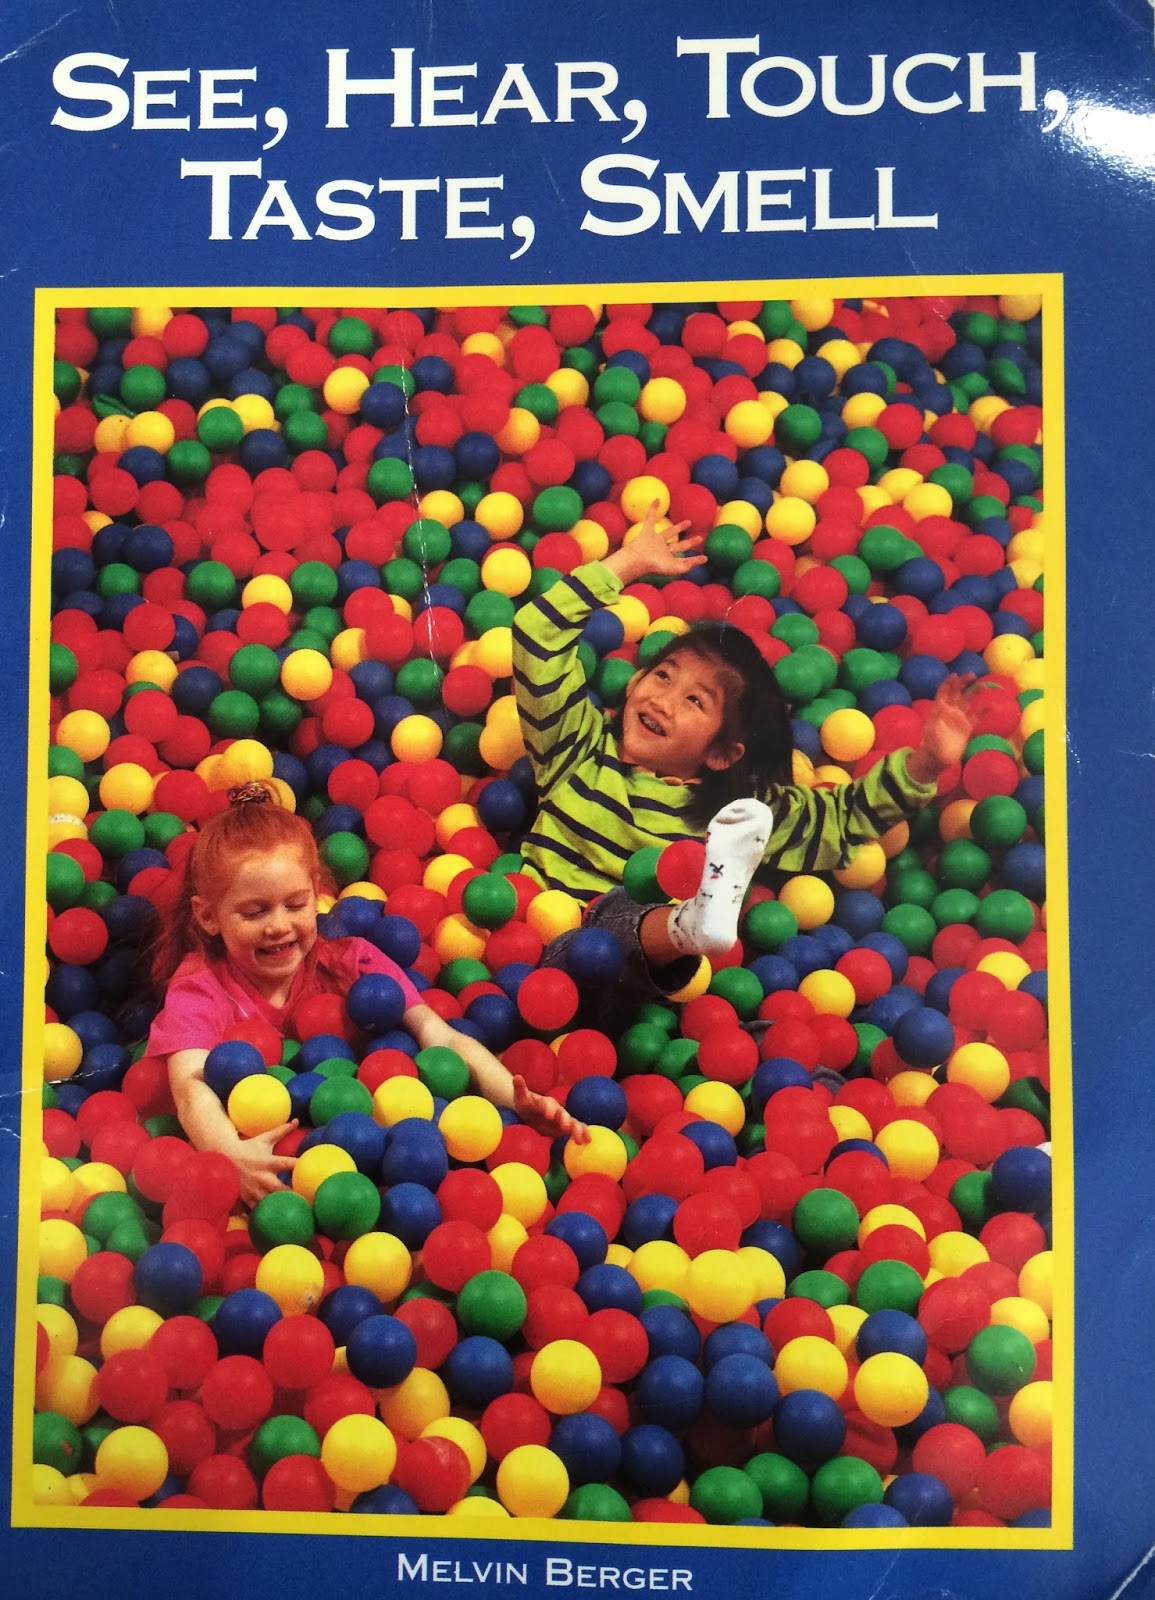
Introducing the 5 Senses through the book 'See, hear, Touch, Taste, Smell'. 

Made this simple worksheet.

I asked Faith to close her eyes and listen to what she can hear. As, she speaks, I draw out and write down what she said.

I asked Faith to look around and to tell me what she can see. 

For taste, I asked her to name me some food that are sweet, sour, bitter and spicy.

For touch, I brought her around to feel the did different items and ask her how they felt like. 

For smell, I simply ask her what can she smell everyday. 


Activity 8: Reading - Learning Verbs

This book, 'I am' is a simple book to teach verbs.


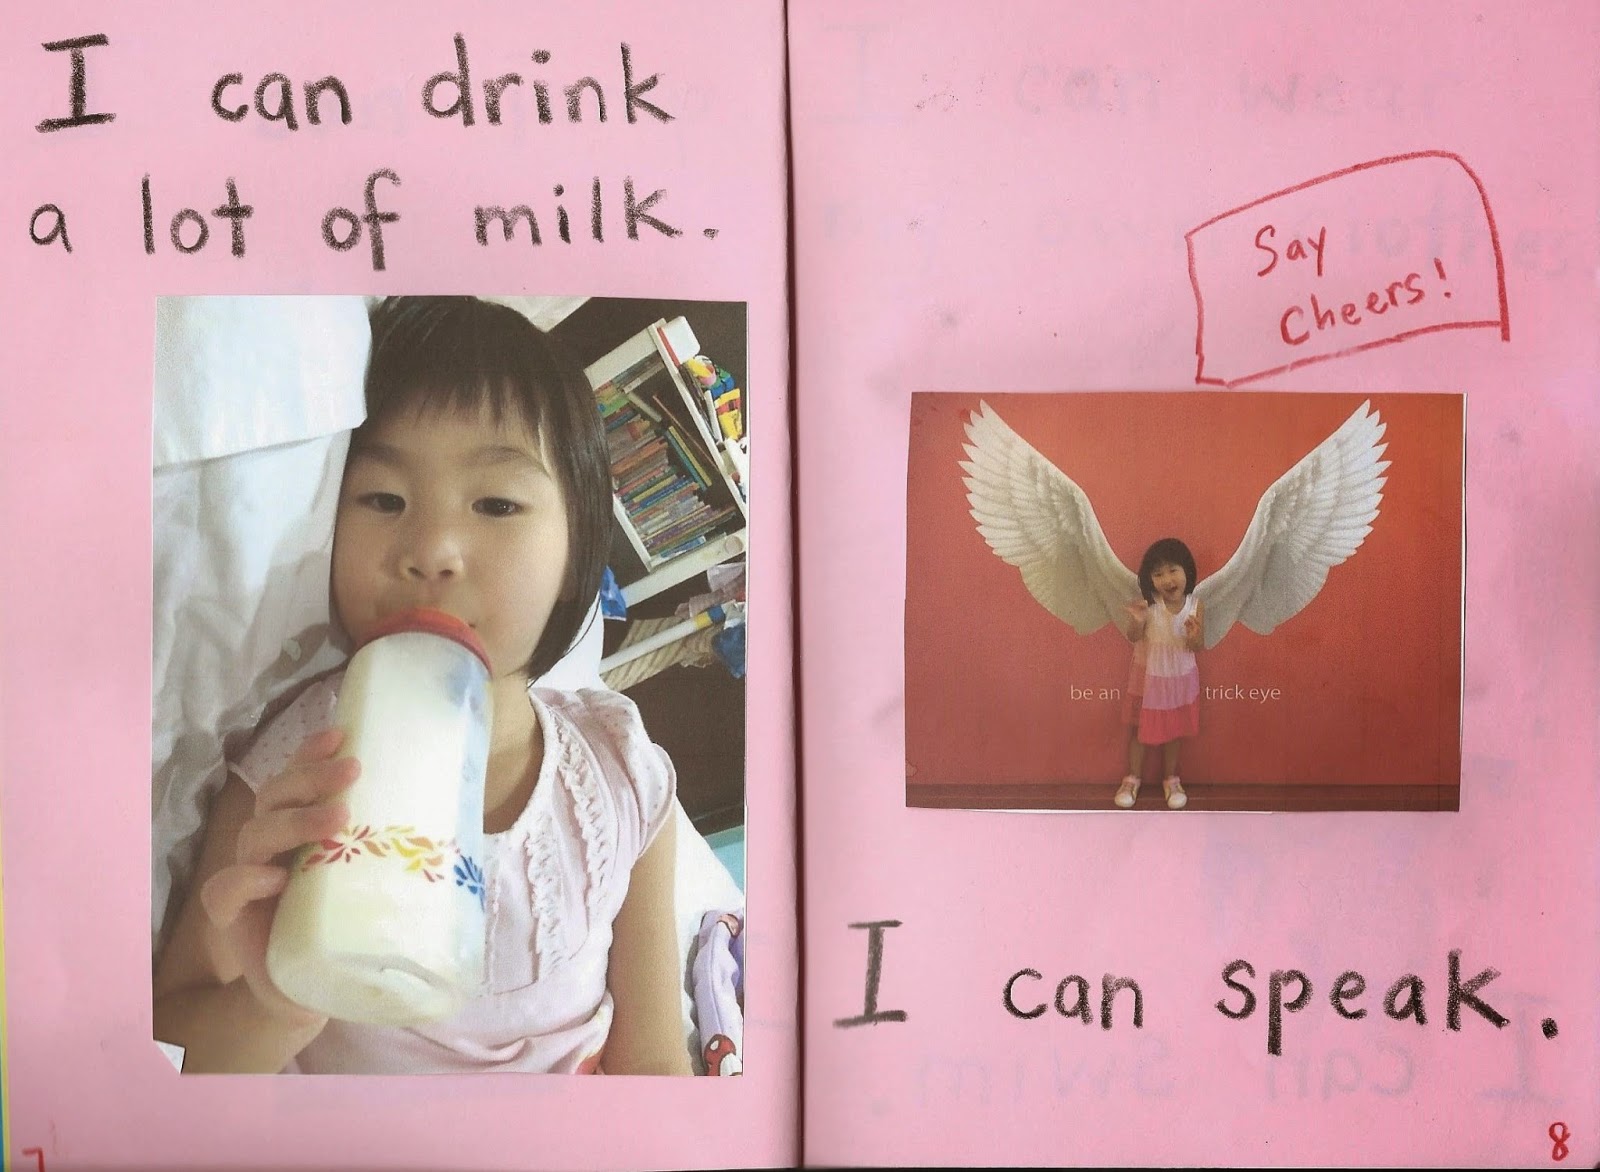
Activity 9: Making our own book, "I Can"

After reading the book 'I am', I suddenly had this inspiration to make a book "I can". I ask Faith to complete the sentence "I Can....". After she came up with 15 sentence, I wrote the sentences into a book and I search of photographs of her and we made the book "I Can"..


Faith enthusiastically pasting her own photos onto the book.

Presenting our product - "I Can". I took some construction paper and stapled them together and we got our book.


All the products of our activities are put up on Faith's Wall. 


Activity 10: My Family 

We recycled the family member figures that we created from our Christmas Family Tree activity and we rearranged into a proper family tree. In this activity, Faith is taught to see the relationship between her and the rest of the family members. She is also taught the proper mandarin terms for the appropriate people. She has been address both grandmothers and grandfathers as "ah ma" and "ah gong". So now, she knows that her father's mother should be addressed as '奶奶'。


Hope you got some ideas from our activities.